How to Take Stunning Portraits in Natural Light – A Beginner-Friendly Guide
Capturing a stunning portrait isn’t just about having a fancy camera or expensive gear. Often, the secret lies in something freely available to all: natural light. Whether you’re using a DSLR, mirrorless camera, or even a smartphone, mastering the art of natural light can instantly elevate your portrait photography. In this easy and practical guide, you’ll learn how to take beautiful, professional-looking portraits using just sunlight—no studio lights needed.
Why Natural Light is a Photographer’s Best Friend
Natural light creates a soft, organic, and often more flattering look than artificial lighting. It changes throughout the day and season, giving you creative freedom and depth in your portraits. Plus, it’s accessible, cost-free, and requires no complex lighting setups.
Best Times of Day for Natural Light Portraits
1. Golden Hour
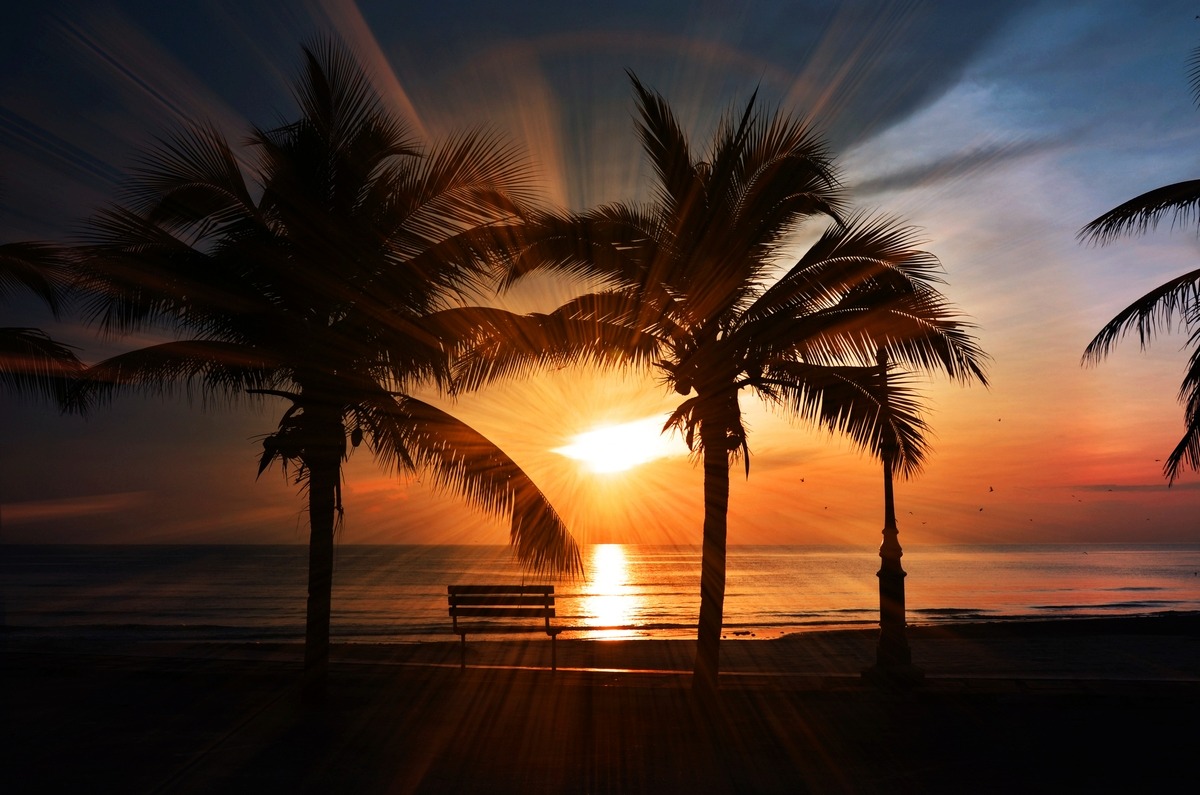
The golden hour is the holy grail for portrait photographers. This happens shortly after sunrise or just before sunset. The sunlight is soft, warm, and directional—perfect for glowing skin tones and dreamy backgrounds.
Tips:
- Shoot with the sun behind your subject for a soft backlit glow.
- Use a reflector or white surface to bounce light back onto their face.
2. Blue Hour
This occurs shortly before sunrise or after sunset. It casts a cooler, moody tone, which can be dramatic and artistic for portraits.
3. Midday Sun
Usually avoided due to harsh shadows, but not off-limits. With creativity, you can still use midday light effectively—like placing your subject in open shade or using diffusers.
Choosing the Right Location
Where you shoot is just as important as when. Here are some location tips for natural light portraits:
- Look for open shade – under trees, next to tall buildings, or beside walls. This softens the light and reduces harsh shadows.
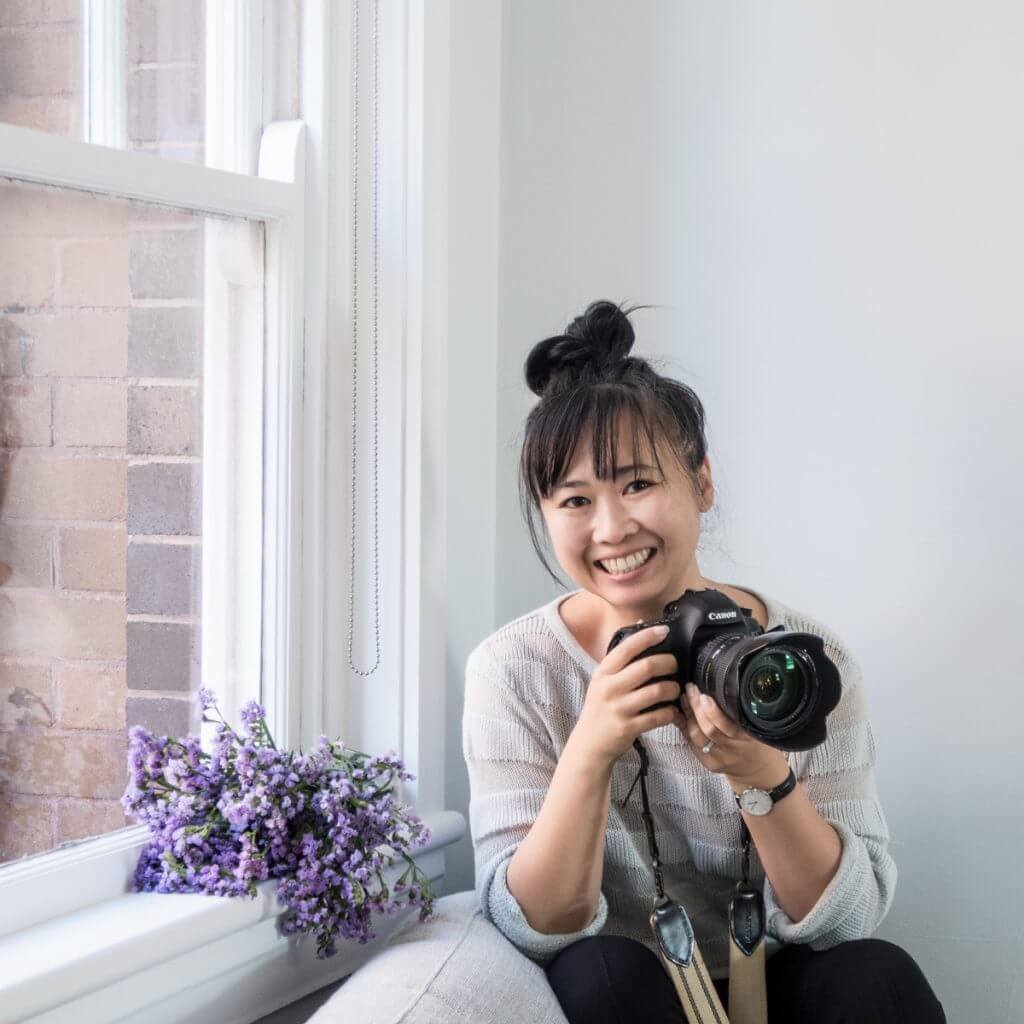
- Find reflective surfaces – light-colored walls or sidewalks reflect light back onto your subject’s face.
- Use nature – leaves, flowers, or long grass can add depth and foreground blur (bokeh) to your shots.
Positioning Your Subject for Natural Light
The direction of light impacts the mood and sharpness of your portrait. Here are some lighting angles to experiment with:
1. Front Lighting
Light hits your subject’s face directly. It eliminates shadows and gives a clear, vibrant look—perfect for beauty or fashion-style portraits.
2. Side Lighting
Light comes from one side of the face, creating contrast and dimension. This works well for dramatic or emotional portraits.
3. Backlighting
The light is behind your subject, creating a halo-like effect. You might need to increase exposure or use a reflector to brighten the face.
Camera Settings for Natural Light Portraits
While every scene is different, these general settings can help:
- Aperture: Use a wide aperture (f/1.8 to f/2.8) to create a blurry background (shallow depth of field).
- Shutter Speed: 1/200 or faster to avoid motion blur.
- ISO: Keep it as low as possible for clean, noise-free images (e.g., ISO 100–400).
- White Balance: Set to “Daylight” or “Cloudy” for consistent color tones.
If you’re using a smartphone, tap on your subject’s face to expose correctly, and enable portrait mode for background blur.
Posing and Expression Tips
Even with perfect light, your portrait needs life. Guide your subject to look natural, relaxed, and expressive:
- Eyes – Make sure they’re in sharp focus.
- Smile or no smile? – Both work. Go with whatever suits the mood you’re trying to convey.
- Angles – Slightly turning the head or body can make your subject look more flattering and dynamic.
Encourage casual interaction, like walking, talking, or laughing. Candid moments often make the best portraits.
Working With Changing Light
Natural light isn’t always predictable, especially outdoors. Here’s how to adapt:
- Cloudy Days: Great for portraits! The clouds act as a natural softbox, spreading light evenly.
- Bright Sunlight: Avoid squinting and harsh shadows by placing your subject in shade or using diffusers.
- Windy Days: Use the wind creatively—hair blowing across the face can look raw and beautiful.
Editing Natural Light Portraits
Post-processing can enhance your image while keeping it natural:
- Lightroom or Snapseed: Use apps to adjust exposure, contrast, and color balance.
- Retouch skin lightly: Avoid over-smoothing. Keep the texture to maintain realism.
- Highlight eyes: Slightly increase clarity or brightness to draw attention to the eyes.
Even basic editing can dramatically improve your photo without making it look fake.
Common Mistakes to Avoid
- Shooting in harsh noon light without shade.
- Placing subject with sun directly behind without a reflector or fill light.
- Forgetting to focus on the eyes.
- Over-editing skin or lighting.
- Using a busy background that distracts from the subject.
Final Thoughts
Learning how to take stunning portraits in natural light is a game-changer. It allows you to create warm, real, and memorable images without expensive equipment or complicated setups. By understanding how light works, choosing the right time and location, and guiding your subject with care, your portraits will shine with authenticity and beauty.
Practice regularly, be patient with yourself, and most importantly—enjoy the process of capturing people as they are, in the light nature provides.
5 Unique FAQs About Taking Natural Light Portraits
- What if I only have time to shoot in the middle of the day?
Try to find open shade or shoot indoors near a large window with sheer curtains. Avoid direct overhead light to reduce unflattering shadows. - Can I use natural light indoors?
Absolutely! Large windows are your best friend. North-facing windows provide consistent, soft light throughout the day. - Do I need a reflector for natural light portraits?
It’s not essential but very helpful. You can use a white poster board, wall, or even a white shirt to reflect light back onto your subject’s face. - Is cloudy weather bad for portrait photography?
Not at all! Cloudy skies create a soft, diffused light that’s perfect for even skin tones and shadow-free portraits. - How can I get background blur (bokeh) in natural light portraits?
Use a lens with a wide aperture (like f/1.8), keep the subject away from the background, and focus closely on the face. If you’re using a phone, switch to portrait mode.
Sign up with your email and always get notifed of zerodevicesnet Lifestyles latest news!


