Beginner Photography Tips for Shooting in Natural Light
Natural light is one of the most powerful tools in a beginner photographer’s toolkit. It’s free, always available, and can transform ordinary scenes into stunning images. Whether you’re using a smartphone or a DSLR camera, mastering natural light can drastically improve your photos. This guide offers practical beginner photography tips for making the most of natural light—from choosing the best time of day to working with shadows and understanding direction.
Understand the Golden Hour
The “golden hour” is the period shortly after sunrise and just before sunset when the sun casts soft, warm, and flattering light.
Why it’s great for beginners:
-
Reduces harsh shadows
-
Makes skin tones glow
-
Adds a dreamy quality to landscapes and portraits
Try scheduling your shoots during these times for consistently beautiful results.
Avoid Harsh Midday Sun
Midday sunlight (11 a.m. to 3 p.m.) is often harsh, casting strong shadows and making people squint.
How to handle it:
-
Find shade under trees or buildings
-
Use diffusers like a white bedsheet or translucent umbrella
-
Shoot with the sun behind your subject for a natural backlight
Avoid shooting with direct overhead sun unless you’re going for dramatic contrast.
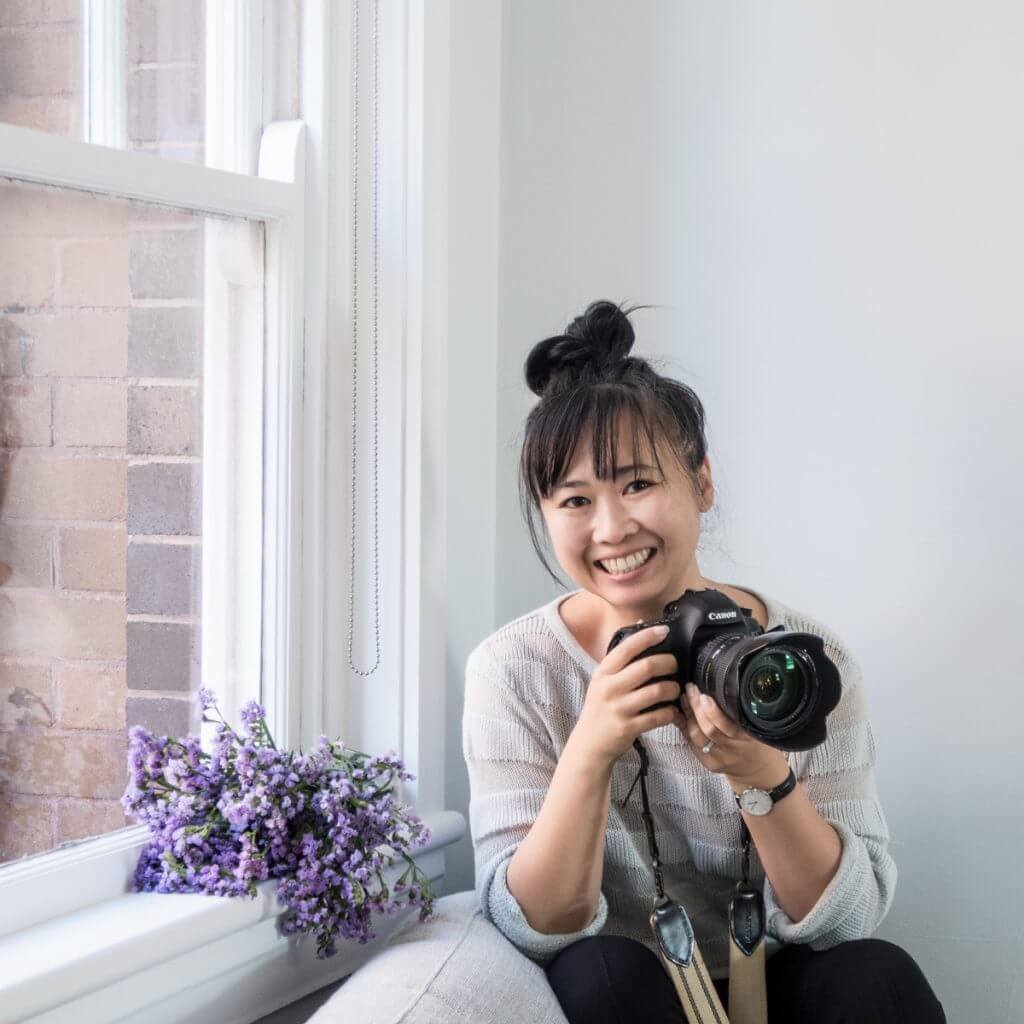
Use Window Light Indoors
If you’re shooting indoors, natural light from windows can mimic professional studio setups.
Tips for window lighting:
-
Place your subject near the window but avoid direct sunlight
-
Use sheer curtains to soften the light
-
Try side lighting for texture and depth
-
Experiment with different window directions (north-facing = soft light)
Great for portraits, food, and still life photography.
Pay Attention to Light Direction
The direction of natural light can dramatically change the mood and appearance of a photo.
Types of light direction:
-
Front lighting: Bright and clear, but can look flat
-
Side lighting: Creates shadows and texture
-
Backlighting: Adds glow, especially for hair or leaves
-
Top lighting: Common outdoors at noon, often harsh
Experiment with how light hits your subject from different angles to understand its effects.
Use Reflectors to Fill Shadows
When natural light creates shadows on your subject, you can use a reflector to bounce light back in.
DIY reflector options:
-
White foam board
-
Aluminum foil on cardboard
-
A white bedsheet or towel
Position the reflector opposite the light source to reduce shadow intensity and balance exposure.
Shoot in Open Shade for Even Light
Open shade (such as the side of a building or under a tree) offers soft, even lighting without harsh shadows.
Why it works:
-
Softens facial features
-
Maintains detail in highlights and shadows
-
Works well for portraits, pets, and close-ups
Great for midday shooting when direct sunlight is too intense.
Adjust Your White Balance
Natural light changes color throughout the day, so adjusting your white balance helps keep colors accurate.
Quick tips:
-
Set white balance to “Daylight” or “Cloudy” for warm tones
-
Use “Shade” setting if under trees or buildings
-
Use manual white balance for more control
On phones, try tapping and holding to lock focus and exposure, or use a photography app that allows white balance control.
Embrace Shadows and Contrast
Shadows can add mood, depth, and storytelling to your images.
Creative ways to use shadows:
-
Silhouettes against bright skies
-
Geometric shadow patterns
-
Emphasizing texture on walls or faces
Don’t be afraid of darkness—learn to use it to your artistic advantage.
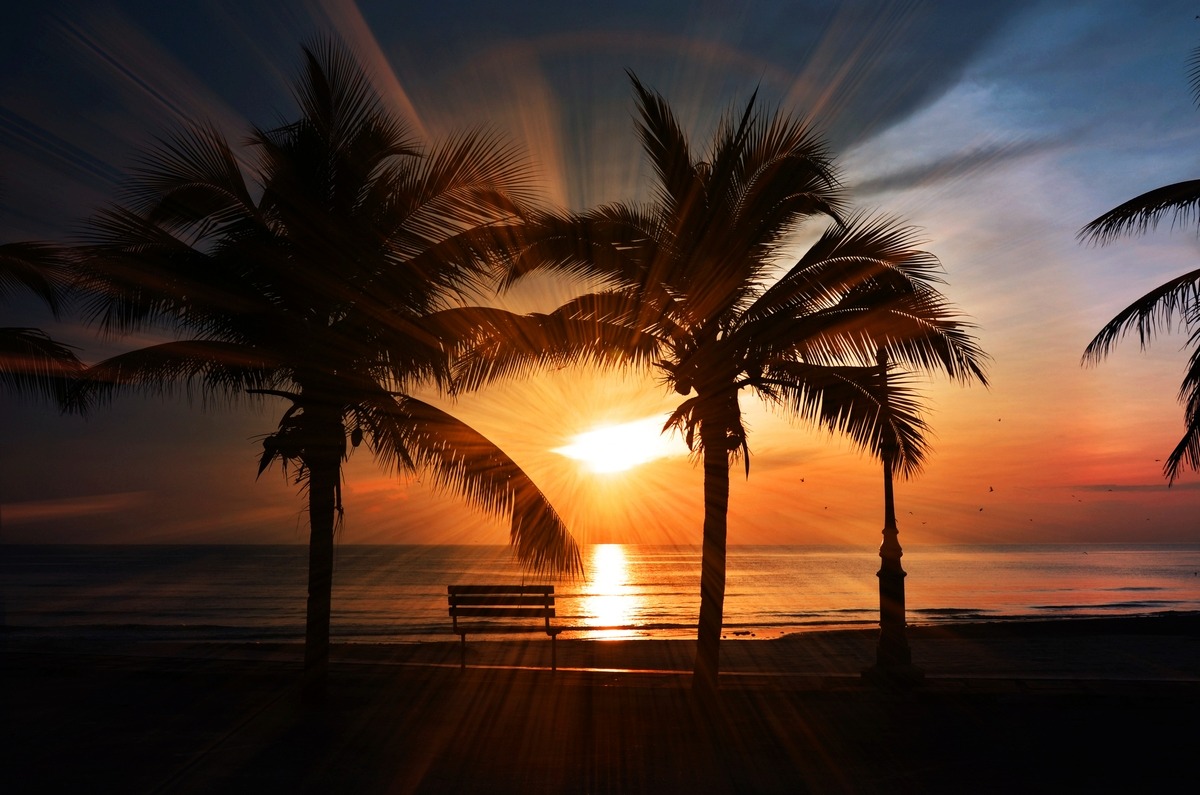
Backlight for Magical Effects
Shooting with the sun behind your subject creates beautiful effects like rim light or lens flare.
How to backlight properly:
-
Shoot during golden hour
-
Lower your exposure slightly
-
Use spot metering on your subject’s face
-
Shield the lens with your hand to control flare
Backlighting works wonders for portraits, flowers, and romantic scenes.
Control Exposure with Manual Settings
When shooting in bright natural light, your camera may overexpose or underexpose the scene.
Beginner settings for bright light:
-
Lower ISO (100–200)
-
Use a smaller aperture (f/8–f/11) for sharpness
-
Adjust shutter speed to balance exposure
If you’re not ready for manual, try using Aperture Priority mode (A or Av).
Shoot RAW for Flexibility
If your camera allows it, shoot in RAW format to capture more detail and dynamic range.
Benefits:
-
Recover highlights and shadows in editing
-
Adjust white balance after the fact
-
Preserve image quality
RAW files are larger, but give more room for creative edits later.
Practice with Natural Light Every Day
The more you practice observing and using natural light, the better your instincts will become.
Daily habits:
-
Take photos at different times of day
-
Note how light affects color and shape
-
Challenge yourself with window light indoors
-
Watch how shadows change in length and direction
Your eyes are the best light meters—train them by shooting often.
Use Your Phone Effectively
You don’t need a DSLR to practice natural light photography. Smartphone cameras are incredibly capable.
Tips for phone users:
-
Clean the lens
-
Tap to set focus and exposure
-
Use gridlines to compose your shot
-
Avoid digital zoom—move closer instead
-
Use third-party camera apps for manual control
Natural light plus a good phone = amazing beginner photos.
Try Black and White Photography
Natural light can add drama and depth to black and white shots.
Subjects to try:
-
People with strong facial features
-
Architecture with harsh shadows
-
High-contrast street scenes
Switch to black and white mode (or convert during editing) to focus on light, texture, and emotion.
Watch the Weather
Overcast days may seem dull, but they offer beautifully diffused lighting that’s perfect for portraits and close-ups.
Other weather ideas:
-
Rainy windows for mood shots
-
Golden light after storms
-
Mist or fog for mysterious landscapes
Use nature’s changing light to your advantage.
Learn to See Light Everywhere
Start observing light in everyday situations—not just when you’re holding a camera.
Practice seeing light:
-
Notice shadows in your home
-
Watch how sunlight hits objects at different times
-
Look for light reflections on walls, water, or glass
This awareness will train you to spot the best moments for photography.
Conclusion
Natural light is a beginner’s best friend in photography—it’s abundant, free, and incredibly versatile. By learning how to work with light direction, time of day, shadows, and white balance, you can take stunning photos with any camera. Don’t be afraid to experiment. The key is to keep shooting, keep observing, and most of all, enjoy the light around you.
FAQs
What time of day is best for natural light photography?
Early morning and late afternoon (golden hour) provide the softest and most flattering natural light.
Can I take professional-looking photos with natural light?
Absolutely! Many professional photographers prefer natural light for portraits, products, and lifestyle photography.
How do I avoid harsh shadows on faces?
Shoot in open shade or use a reflector to fill in dark areas.
Is cloudy weather bad for photos?
No. Clouds act like a natural diffuser, giving you soft, even light—perfect for portraits and macro shots.
Do I need special equipment to shoot in natural light?
No. A camera or phone, a window, and some practice are all you need. A reflector or tripod is helpful but not necessary.
Let me know if you’d like a natural light photography cheat sheet, a practice challenge, or a free printable light direction guide—I’d love to make one for you!
Sign up with your email and always get notifed of zerodevicesnet Lifestyles latest news!


